22 May 2023
How To Create a Garden Planter
Summer is a wonderful time to fill your garden with glorious colours and fantastic greenery. Flowering plants and shrubs can be added to flower beds, garden borders or plant pots; with the ability to tailor the colours and varieties to your personal taste.
A great way to customise your garden is by making your own planted flower pot. By following this simple guide, you will be able to create your own unique flowering planter to add to your garden, patio or balcony!

You will need
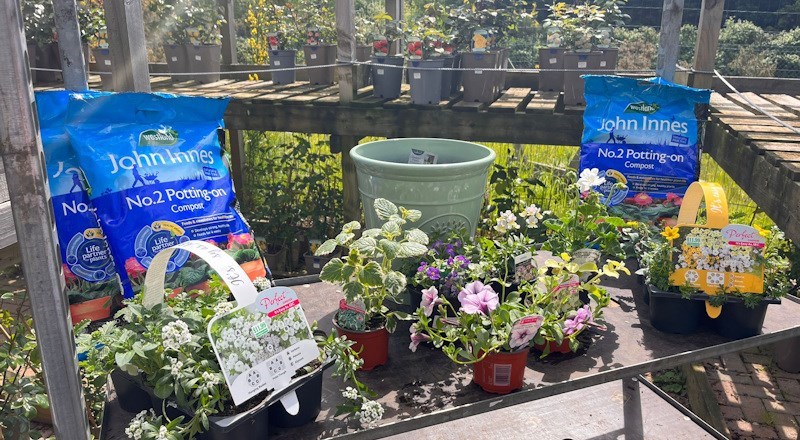
- Outdoor plant pot – approximately 30cm wide
- 20L John Innes No.2 Potting-on compost
- Five to six bedding plants, 10cm to 13cm pot size
- Optional – hand trowel
Instructions

- Start by filling your pot with potting compost until ¾ full. You will want to leave roughly two to three inches of free space at the top of the pot. (If you have opted for a large pot size, you can add a layer of gravel or stone to the base of the pot to aid with drainage and help fill the pot.)
- Take your first plant and remove the plastic pot. Use your fingers to gently loosen the root ball and place the plant into the pot, pressing firmly into the soil.
- Continue this process with the next plant, placing it closely to the first plant in the pot. By working around the pot, placing the plants alongside each other, ensures you have enough space all of the chosen plants.

- Once you have added three or four of your plants, you can take a step back to decide if you like the placement. If you are not happy with where you have placed one, you can easily remove it and replant it where you think is best.
- Before adding the remaining plants, you now need to ensure the plants already in the pot have enough soil. You can use a hand trowel to add small amounts of soil in and around the plants already planted.
- Use your hands to gently press on the roots of the plants, ensuring that they are fully covered with additional soil.
- Add in the remaining plants, and use your hands to carefully move them into their final positions.
- Once you are happy with the placement of your plants, and have filled any gaps with extra soil, begin to press all roots into the soil firmly. We find it is best to place both hands around the base of the plant and push in a downwards motion while holding the base steady. This ensures the roots remain attached to the plant, but are fully submerged in the soil.
- Once you have completed planting, the final step is to water the soil well and admire your hard work.